Doing your own hair and make-up can be very difficult and at times frustrating. As a hairstylist and make-up artist, I have learned how to do almost anything you can imagine on myself as well as my clients. (I usually try everything out on myself first, better me than you) When a person comes to me for a hairstyle or make-up application they often ask if I could teach them to blow-dry their own hair or how to do a “smoky” look on their eyes. The truth is that the average person has no clue how to do these things on themselves, or at least not well and in a short amount of time. Even though I am a slower more methodical human being and not known for my haste with any task I perform, I am able to blow-dry my hair so that it looks like I just stepped out of a salon and put on a full face of make-up in under 20 minutes! Some of you may be able to do this as well but are you able to do a full on Kim Kardashian look in this amount of time. Well I can and you can too. Here’s my 20 min. from out of the shower to out the door do-it-yourself make-over!!! :D
Hair
1. Towel dry hair thoroughly, apply styling products (root lifter and styling cream/argan oil) and comb through.
2. blow dry your hair upside down moving the dryer constantly. Make sure you get it completely dry. If you have bangs, dry them first pulling them straight down over your forehead with your fingers. If your hair is not dry with in 5 min. your blow dryer is not hot or strong enough.

3. For a bouncy look use a round brush. Section your hair into 3 parts: from the ears down, the top of your temple down, and then the very top. Roll the round brush into the hair from the underside of the section and lift the brush up to create volume. For a sleek look use a flat iron on the ends. Section the hair in twice as many sections as when blow drying so that you get good results. This should only take 10-15 min from start to finish.
Make-up
1. Apply your base to just your forehead and eye lids. If you use powder apply that as well.
2. Use black eye liner around your entire eye, top and bottom. With a medium sized shadow brush and a small amount of grey or charcoal grey shadow, blend the black eyeliner into the lash line and work the color up the lid till you reach the crease. Do the same on the bottom but keep the color at the lash line.
3. Take a medium shadow color like a beige or taupe and blend the crease with a blending brush. Take a high light color and go under the brow without covering anything you just did.
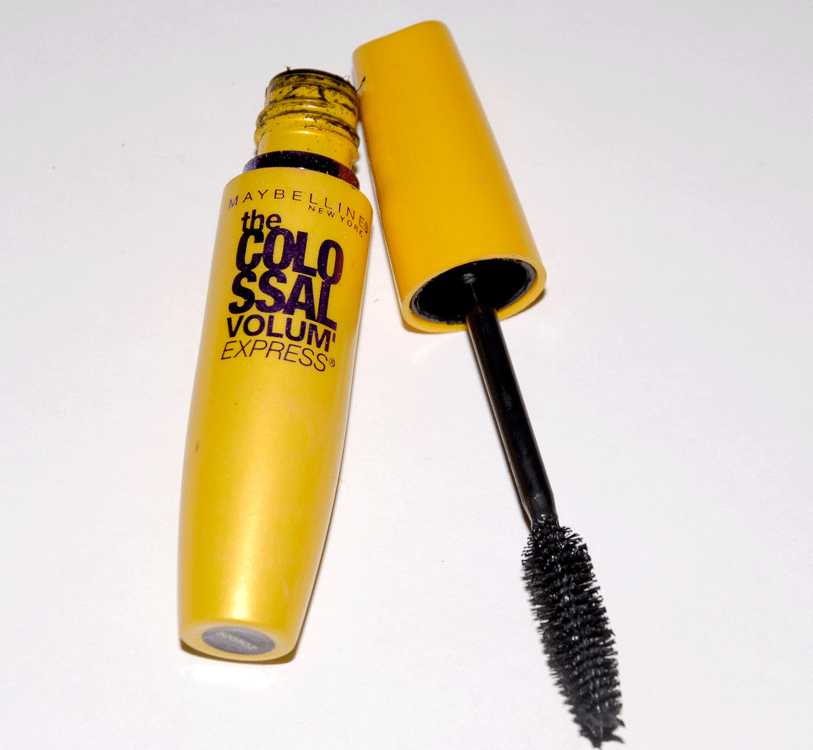
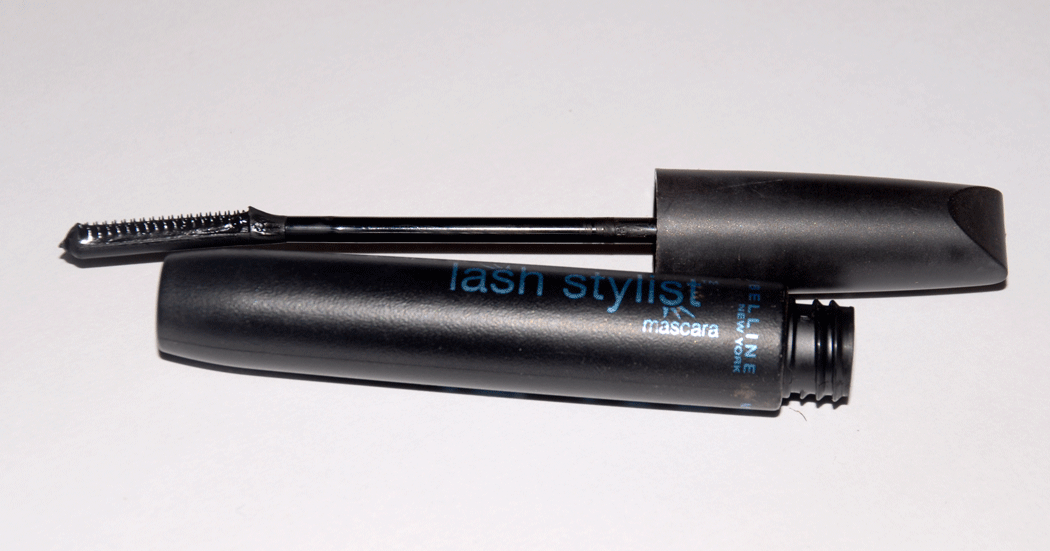
4. Apply mascara and maybe ad a little more liner on the inside lid, lip gloss, bronzer and go! This should only take 5-10 min start to finish.
Note: You may need to make the smoky color higher or lower on your lid depending on the shape of your eye. My eyes go down on the outside so I always add and little color in the upper outside corner to “lift” the shape of my eyes. I’ve posted a couple pictures to show the desired effect. As you can see you can use any color to create the “smoky” look! Enjoy